 Nu het DMR netwerk redelijk landelijk dekkend is en steeds meer gebruik maakt van HamNet in plaats van het commerciële internet kan het natuurlijk ook worden gebruikt voor noodverkeer. In België is hier een aanzet toe gegeven en heeft Walter ON4AWM uitgewerkt hoe je DMR en Analoge radio’s aan elkaar zou kunnen verbinden. Zijn beschrijving vind je hieronder en kan je hier downloaden
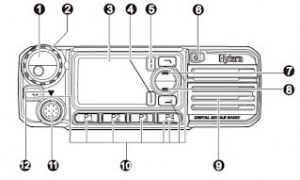
Hytera MD7xx/RB6xx Interface to other transceivers
As DMR 70cm becomes more and more usable as a general coverage radio network within Belgium and beound, the need to connect other transceivers to the DMR network in case of emergency becomes eminent.
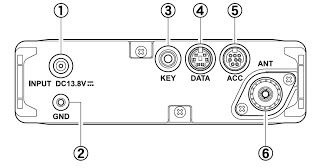
As a small project this paper will explain such a connection between two transceivers equipped with a standard mini-DIN 6 pole DATA connector and a MD785G mobile transceiver of Hytera.
CPS Hytera Settings
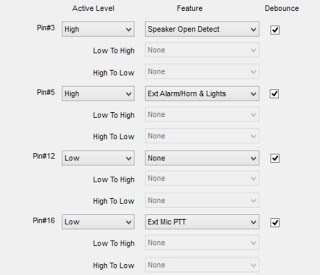
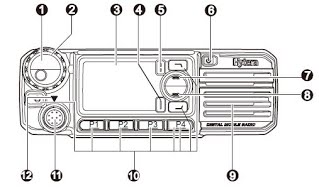
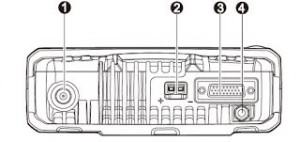
The settings within the MD786 have to be modified, so the signaling on the expansion connector DB26 will be available with the correct level.
We will make use of the “Speaker Open Detect” function connected to pin #3 generating a “high” level as an active signal is detected and the “Ext Mic PTT” connected to pin #16, activated with a “low” level.
The connections for the “audio out” at pin # 8 and mic in at pin #7 are fixed connections without any settings.
The ground signal can be found at pin #2 of the DB26 connector.
Signalink Cable SLCAB6PM

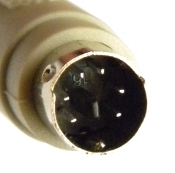
As the inter-connection cable, I make use of the Signaling prefabricated cable SLCAB6PM, used in many configurations. It consists of one mini-DIN 6pole plug and one RJ45 plug.
Because Tigertronics makes beautiful sound card interfaces, they have all kinds of interface cables and use one RJ45 jack to connect them to their equipment. This standardization eases a lot and provides us with all kinds of transceiver connection cables.
The interface
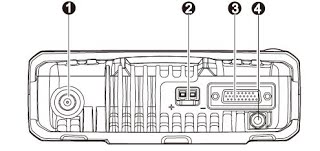
The interface is constructed around one RJ45 jack (Signalink Layout) and one DB26 plug.
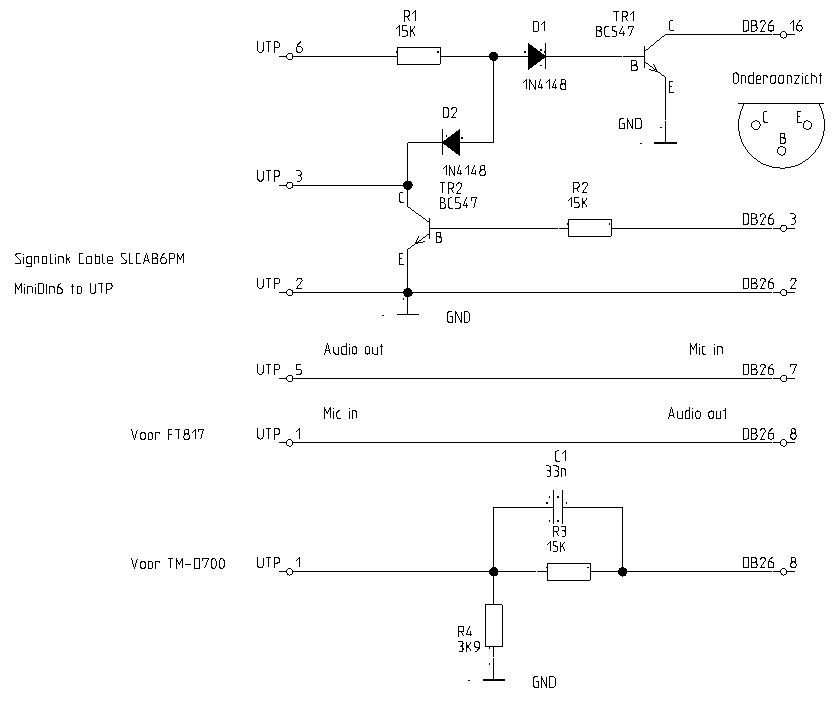
The “High” levels of the signals detecting audio or a carrier are used to trigger a transistor to generate a “low” level for PTT action.
As it seems that some transceivers (TM-D700) generate also a “Carrier detect” in case of an external PTT activation, this action is inhibited through the circuit constructed around D1,D2.
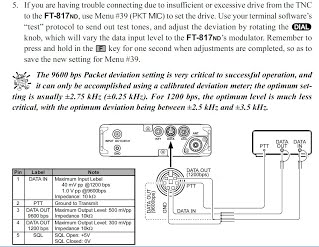
Not all transceivers cope well with high level audio signals. For the FT817, the levels are well defined and within the Hytera specs, for the TM-D700 the Mic in signal is defined as maximum 40mVptp. As it enters the transceiver after the pre-emphasis network, low frequencies will be saturated. I constructed a little add-on RC network to avoid this effect and to reduce the signal level entering the Mic input. It is made of a RJ45-jack and Plug that can be placed in between the interface and the Signalink cable, so the original interface does not have to be modified.
Values of components are not critical, only the termination should be > 10K at most pins.
Transceiver settings
The settings to use this cross-link connection for the different transceivers are as follows:
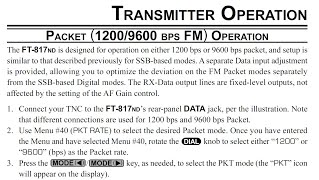
FT-817
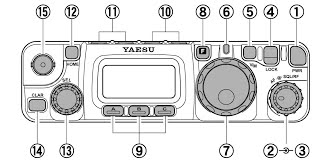
- Set the Packet rate to 1200bps to select the proper audio path within the transceiver (menu item #40)
- If necessary change the PKT MIC settings to the proper level (menu item #39)
- Switch the transceiver to PKT mode for operation.
TM-D700
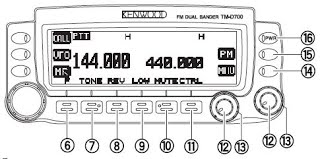
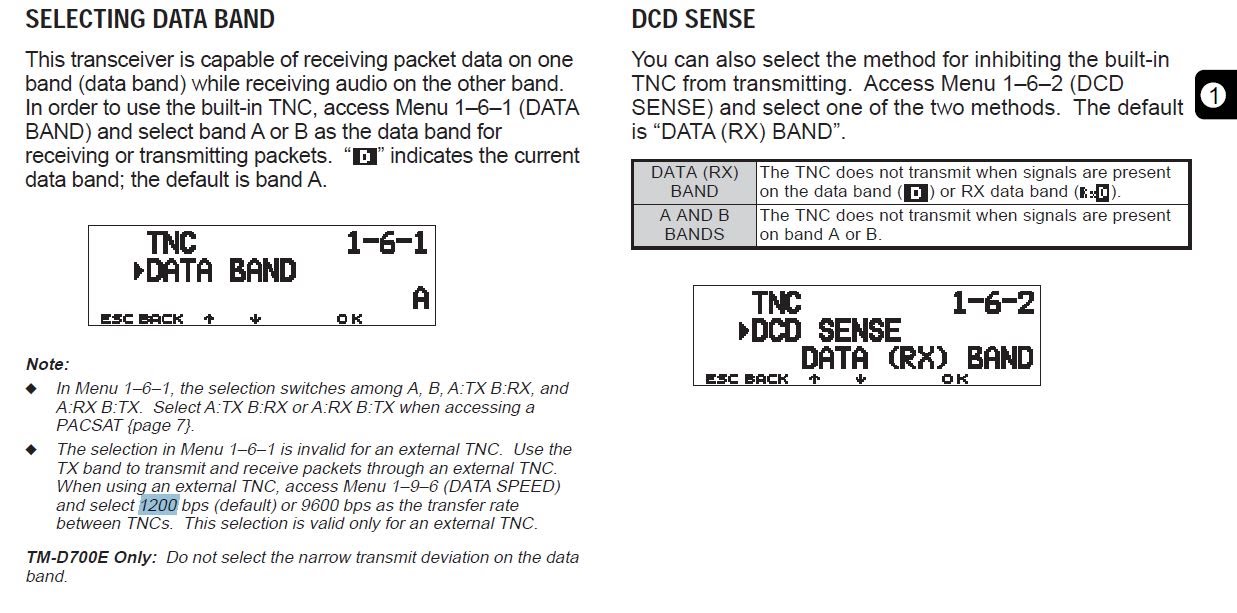
- Set the Data band to the desired band. Normally it will be band A. (menu 1-6-1)
- Set the DCD SENSE to both bands (menu 1-6-1)
- Set the DATA SPEED to 1200Bd (menu 1-9-6) as the Mic level will be reduced to 40mVptp. At 9600 the transceiver would need a 2Vptp level, way too high for our application.
- For operation you can use any setting you desire, sub-tone, memory channel, narrow or wide, but switch any TNC action OFF.
Conclusion and testing
In case of an emergency operation communication is mostly used “portable”. This setup could be used not only as a range extender (cross-band repeating) but also as an analog-to-DMR gateway.
The latter would be of great value to extend the coverage of analog portable equipment due to the fact that the DMR relays are easily interconnect able through the DMR server network and widely covering a territory like Belgium.
As one of the major applications this mini-transponder setup can be used within a car to get outside and use a normal 2m portable transceiver to communicate over 70cm DMR making use of a dual-band antenna on the car rooftop and a diplexer to connect both transceivers to the same antenna.
Putting both transceivers together in a box , the DMR transceiver into Roaming mode at and you other transceiver at a 2m frequency with CTCSS and a magnet dual-band antenna with diplexer gives you a quick and portable setup that could be quickly installed within another car or on top of a building.
The roaming functionality will automatically look the strongest DMR relay in the vicinity and in case this relay will go down, the DMR transceiver will automatically switch over to the next one, making this an automated system.
I hope this triggers others to think about “emergency communication” as an incentive to discover all kinds of new interconnection-modes.
Have fun! 73 de ON4AWM, Walter
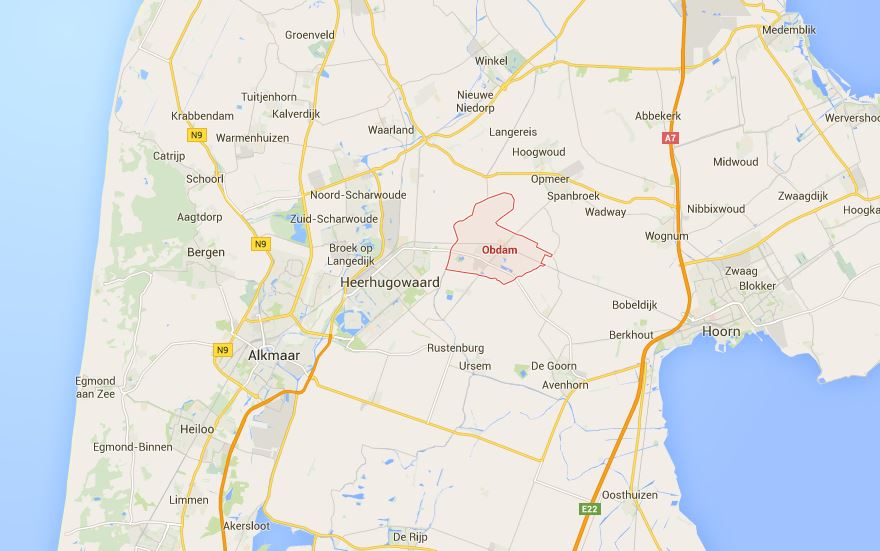
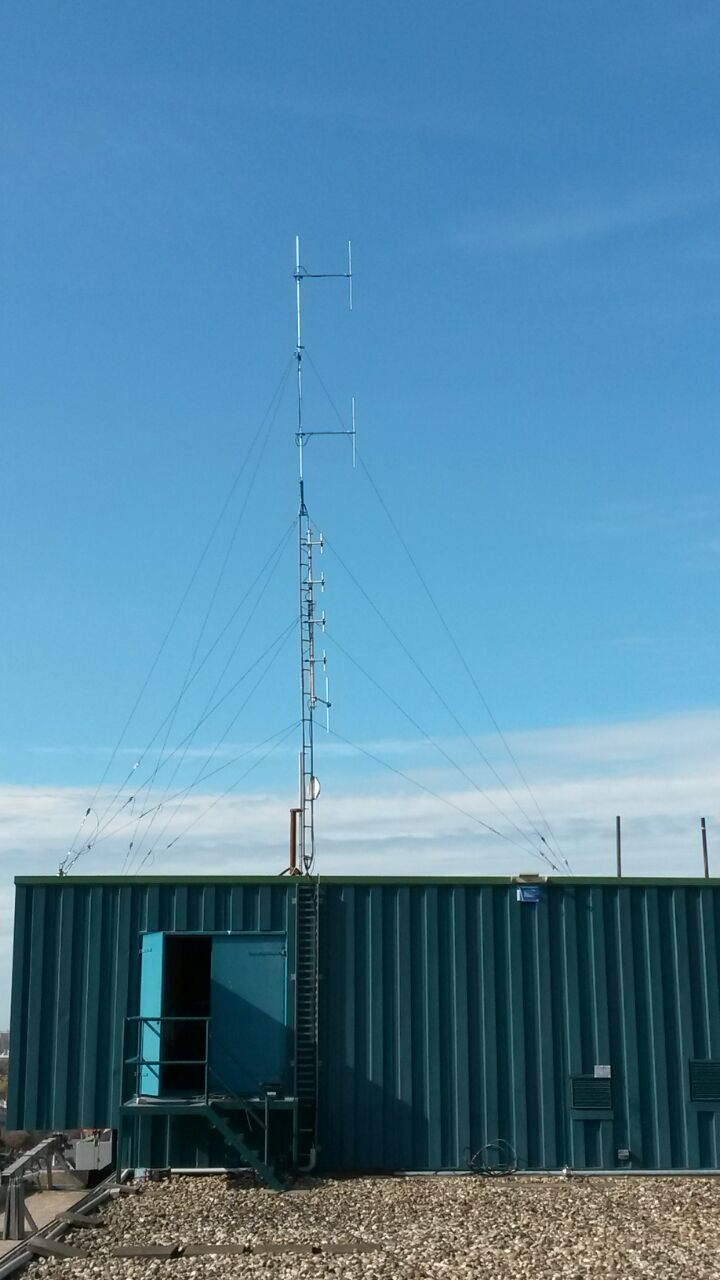
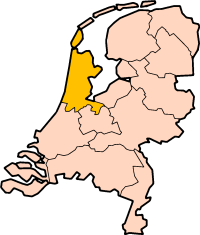 Er komt een DMR-repeater in Noord-Holland. Dat maakt William (PE1BMM) bekend. De ATOF is inmiddels ontvangen en de repeaters zal onder de roepnaam PI1WFR gebruik gaan maken van de frequentie 438.0125 Mhz met een shift van -7,6 Mhz en colorcode 1. Deze repeaters zal de 22ste repeaters in Nederland zijn. Het streven is de repeaters eind mei in de lucht te brengen in Obdam. In de regio Twente wordt momenteel ook gewerkt aan een DMR-repeater. Ook deze gaat aansluiten op het Hytera netwerk. PI1TWE zal de 23e repeater van het land worden, waarvan het de 18e Hytera repeater is. Ook Twente is nog een witte plek op de kaart, zeker voor gebruikers van een handheld terminal (portofoon). Er zijn nog meer repeaters in voorbereiding hierover later meer.